Saturday, April 4, 2015

Science - Bats (How to celebrate Halloween without celebrating Halloween!)

Halloween can be a spooky and fun, however many schools are getting rid of the label Halloween and in some cases not entertaining the holiday at all. My school is one of them.

Even if we are not allowed to decorate for the holiday in the classroom, I wanted to still keep this time of year fun, memorable, and light for the students.  I decided, if we are not allowed to decorate for Halloween, I can still get around that by doing a unit on something that many relate to Halloween, but take out the scary and turn up the learning. Writing down ideas, such as pumpkins, bats, skeletons, ghosts and owls, that are synonymous with Halloween. I went through the process of elimination as to what would be most appropriate for my age group and Bats it is!

Crafts:

- paper tube bats  http://www.dltk-kids.com/animals/mbat.htm

Hang them from the ceiling and voila! Decorating for science project - not Halloween.  ;D


Books:


- fun, fiction, can use as a compare/contrast


- informative and fun


OF COURSE, I must have some sort of cross-curriculum, interactive visual to guide my students through our bat unit.

- Display board; $2 Michael's, with coupon
- Velcro: left over from other projects
- Pictures: print on home computer
- Lamination: school


Display board addresses labeling, interactive guessing with what they can eat, as well as adding rhyming into the mix because it is so important in Kindergarten curriculum.


When we take away the stigma of bats being thought of as scary, especially in regards to Halloween, the students become enthralled with learning about just what bats can do because they are mysterious creatures of the night.

Just for fun, we ended the unit with a trip on the Magic School Bus! 

Video - episode, Going Batty!


As a child, this episode helped me truly understand what echolocation is and my students now comprehend it better than the first graders because of the visualization presented in this episode. 

After we set up a safe obstacle course and went around the class using our "echolocation" to try not to bump into chairs. Bats are so interesting, they are not scary, and it is perfect to teach around Halloween so that we can decorate and celebrate without actually doing so for the holiday.


We also did our own version of something I saw on pinterest years ago with pumpkins:

- counting pumpkins
- roll-a-pumpkin game

Community Helpers

In my experience working with younger grades over the past eight years, we have always started our year with Community Helpers. It got me thinking, "If I am doing this every year, then others must be also, even on a review level. So how can I make Community Helpers unit more intriguing for the students if they learn/review it yearly preschool-first grade?"

 I decided to make it more interactive for them and let them use their own knowledge of the subject to learn through play.

The ultimate goal of teaching Community Helpers is to have the students understand what a community is and why these people help the community run.

I started with a plain white display board and took out my trusty ruler to add "streets" and "driveways"  in the middle section of the board.


I searched the internet for pictures of where community helpers worked. Printed them out, cut and glued them on to our "community." I used two velcro dots next to each building so that the person had a place to stand as well as their corresponding vehicle.


Earlier, I also found community helper people and matching vehicles on the internet that had some consistency in how they looked. I printed them out, cut and laminated each one individually so I can hopefully keep this board for years to come. On the back of each community helper, I placed a velcro dot so that the students can easily grab, move, and play with the community helpers within our little paper community. I kept all this to one side of the display board.


Now having completed the left and the middle of my display board, I contemplated what to do with the final side flap. It is not only important for students to know who is working in the community but where and what is their community? I decided to add (from general to specific) information about just where OUR community is located. 


Through my experience, I have found that the more opportunities presented to students to be interactive with their own learning, the better they understand and comprehend what a teacher is trying to communicate. My students ask to play with this board, months after we have finished the unit because it is something that is tangible for them in our crazy city.


Total out of pocket cost: less than $10
 (lamination and velcro are majority of expense)

I will preserve and utilize this piece of equipment for as long as mother nature and my curious kindergartners will allow!

Friday, May 9, 2014

Mother's Day

I have been trying since I started teaching to come up with a somewhat unique Mother's Day craft that moms might keep out a little longer than the average "I made a hand print for you" gift. Moms love the "hand print" but, I have noticed more of my parents are more modern and have even admitted to me that they often throw out artwork. I wanted to find and do something a little different, so I combined a few ideas I have seen.

The Forever Bouquet of Flowers


Materials (all bought at a discount - let's face it, we're on a teacher's salary here)

- $0.99 pack of green pipe cleaner stems
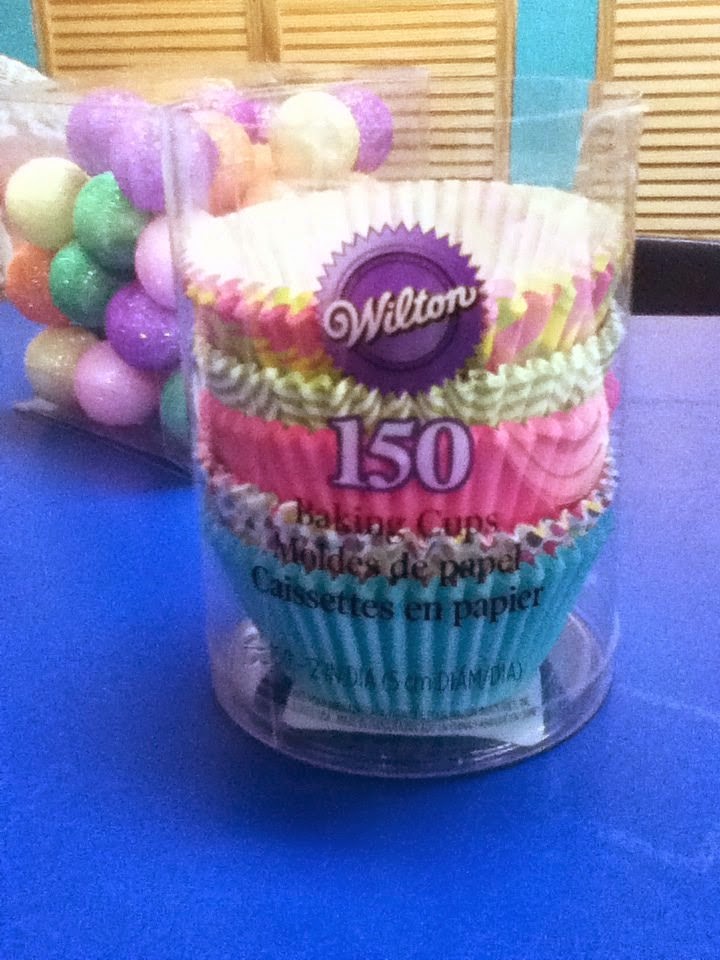
- $2.00 150 pack of cupcake liners (fun designs to add a pop)
- $4.99 pack of 6 floral Styrofoam cut into halves (I have a small class)
- $0.99 box of glittery Styrofoam balls (Easter closeout at Michaels)

Total : $ 8.97 with plenty left over for next years class and possibly the year after.
 
 
We started by bending the green pipe cleaners to create a "stem" with a leaf.


Then we cut cupcake liners to look like flower petals and insert stem into bottom of cupcake liner.


Bend pipe cleaner on top of cupcake liner then glue center piece on top - some kiddos added buttons or glitter stickers to make center of flower pop more.
 
 
We put the little glitter Styrofoam balls on other stems to mix up our flowers a bit. Then the kiddos had a blast being their own little flower arrangers sticking the pipe cleaner stems into the floral Styrofoam. 


Place in a clear glass container or cover with construction paper for the flowers to be in a pot, then the kiddos and parents are free to enjoy their cute little "Forever Bouquet."

Tuesday, December 24, 2013

Sight Words

There has been debate over spelling test and whether they are effective or not. Whatever I may believe on the subject, I believe that above all, students really need to see the words in action, make words fun, have them jump off the page so the kiddo can say, "Hey! I've seen that word before and I know it!"

In order to make sight words fun in our classroom I decided to go with the high five method. Allow me to explain....


There are words, that are very common when reading and we come across them often, these are sight words. Sight words do not always follow phonetic rules and can confuse the kindergartner when trying to teach. In order to have the kiddos I teach still focus on the phonetic rules and yet learn every day sight words, I made it a game.

Before we leave the classroom to go to music, lunch, home, etc., the kiddos are required to high five the sight words by the door before we head out and they love it!
 
As an alternative, I call out a sight word and they have to high five it as fast as they are able. Sometimes we also have two players with fly swatters to work on the quickness of our word recognition.
 
I also made  Reading Center "Sight Word Slap" folders that are easy for the kiddos to play together.


It is the same principle as "Slap Time" however using sight words.
 
The kiddos enjoy the challenge and the healthy competition. I adore when they get so excited when they connect a sight word in a book they are reading and the same sight word on the wall. They are incredibly proud for reading all by themselves and I feel that I have done my job!
 

Thursday, June 20, 2013

Number Detective

OH NO!! Mrs. Hall needs to count from 1 to 20, but she seems to have lost some numbers! Can the students help her find them and put them in the correct order?

In Kindergarten we work a lot with missing numbers all year. In the beginning it's 1-10, then 1-20, then towards the end we go 1-120! It's a lot, but this is a way to get the kids more hands on and visually see where numbers should or should not be placed.

Total project cost:$8 (I also did one with the ABC's, so that's where the other $8 went, so $16 for two projects with extra left over)

Materials: Project board
                 scrap paper to spruce it up
                 cut out numbers/letters
                 velcro

First thing I did was cut my project board in half so I could have two "Detective" boards - numbers and letters.

Then I added a little paper for the background so it wasn't boring.


Next, I measured out spaces for 20 numbers so it could look sharper. Then I started laying out my numbers without gluing yet.
 
After my numbers where laid out, I picked up eight random numbers to go onto the "lost" side and glued them on a cardstock paper. After, I glued the rest of the numbers down.


All glued down, then added velcro to missing numbers side and velcro pieces to the main 1-20 area and we are set for play!


Can not wait to use in the classroom!


Monday, May 27, 2013

Open House - Welcome to Kindergarten!

I don't know about you, but I feel that Open House at a school is incredibly exciting and nerve wracking, all at the same time. We want families to get the information they need, we want certain things to be talked about and discussed, and we want to make sure little hands are not idle.

My first two years of teaching, Open House was a mess. I was trying to put my best face forward, let the parents know I am here for them, I want their child to feel safe and secure in our classroom. But every time, students would be pulling out things they maybe should not be getting in and parents had to chase after kiddos who decided school was too much for them. At the end of the night, I would almost feel defeated. I was not clear in what I was saying and there were too many distractions. These events had me thinking, how am I supposed to keep EVERYONE engaged? I needed to get certain information to parents as well as keep the students occupied. I have been asked to host a "What to Expect in Kindergarten" night, where kiddos from all around the immediate area will be in my classroom and they don't know the rules I have set forth - hence this post and my thoughts on open house.

This is what I came up with, a scavenger hunt for our kindergarten classroom.
By giving everyone who comes through my classroom door this paper, I am saying to the kiddos that they have responsibilities and can stay busy by looking at things, but can not take out all the toys and play with them. Parents can help their children go around the room and learn about our classroom with their kiddos. This also frees me up to speak with parents if they have any questions or concerns so it's not just chaos in the room. People are free to come in, take a look around, get to know the room, and get to know me.
 
 If you noticed, I made sure to put myself on the scavenger hunt so I can make sure I meet everybody personally!
 
I would like to say that this is not my original idea, it is only my adaptation/ compellation of things I have seen.
 
My heart, mind, and sanity are at rest now for Open House!


Sunday, March 3, 2013

Teacher on a Budget - Take 2!

Whether you are a teacher who has mastered their craft or a relatively new teacher, out of school within the past five years, we all love to find a great deal for our classrooms!

I am all about making things for my classroom and getting the most bang for my buck. Essentially, as teachers, we are taking care of anywhere from 15-30 kiddos who are not our own, 30+ hours a week. Sometimes we have expenses that don't make it into our school budget, so guess where the funds for that week's activity comes from? Yep, out of our own pockets - my husband just loves this fact! ;)

Well I want to share what I have learned as a teacher (and a wife) on a budget with others because I am always looking to maximize quality while minimizing my bank account shrinking! Here are some more ideas - take 2!


Ten Frames and Playdough Shapes pages

These frames are great for counting objects, adding, and subtracting for that visual learner. My kiddos often use playdough on the sheets because I laminated them, but they are great with expo makers or beans for that tactile learner who refuses to touch the playdough.


Ten Frames
- word sheet
- insert table 5x2
-print and laminate
- hole punch and use shower rings from Dollar store to keep on a ring or regular key chain ring


Shape pages
- you can draw your own, but I was lazy and just found images I wanted off the internet
- make all about the same size
- print and laminate


Who has the time? Time Telling Game!

Are you a teacher? do you have the internet? Pintrest is your best friend. I found this amazing game on pintrest and love these two teacher's idea! They are selling pre-made cards here, http://teachinglittlemiracles.blogspot.com/search/label/telling%20time , if you don't have the time to make them. Hands down, their cards are much cuter than mine, but I knew I could make them really fast with Word - also a teacher's best friend.


Time Telling Card Game
- Word document
- text box, write "I have" at top of box, write "who has" at bottom of box, copy image of clock without hands in middle of box
- cut and paste so you have 4 boxes the same size on your page
- fill in boxes with different times after "who has" example - Who has 3:00?
- I decided to make my text boxes different colors to make the game even more fun looking!
- print
- fill in clocks accordingly with black pen
- laminate :D (makes everything last just that much longer and Lord knows teachers need things that last)


Thursday, November 29, 2012

Safari - Animal Tracks

For the last week of school we focused on matching in our classroom and we took it to the next step. All year long we matched colors, shapes, letters, but we took the kiddos out of their element on Friday and we went on Safari in Africa!

To make the trip more realistic and really get the kiddos involved, we had to go through a "metal detector," check our tickets, and get on our "plane" to fly all the way from Indiana to Africa.

Tickets
- print out ticket from google images
- whiteout names
- make copies on heavy paper
- cut and laminate


Metal detector
- Flip chart without the chart


The day before we created our safari vests.

I went to Kroger to grab what I could in regular size paper bags, but just a heads up, they start charging for paper bags after you take a certain number.

- Cut the bags down the middle on the non-logo side
- cut head hole
- cut arm holes
- Label each vest with name of child under the title of Safari Guide
- have children make their vest their own with safari stamps, stickers, or gadgets they would bring with them on safari

Each child received an Animal Track Guide so that when we came across some African animal tracks around our school, we could look at our track guide and see what type of animal is loose at our school! Disclaimer: set up time takes about 20 minutes, make sure its a day that you are flexible.


My kiddos are still working on letter recognition so I decided to have pictures accommodating each footprint, but here is a great guide I found at http://www.dreamstime.com/stock-photos-stock-photos-african-animal-tracks-image5216323 that includes names of animals without pictures for kiddos in 3rd or 4th grade.


If you don't have play binoculars in your classroom, tape two of these bad boys together, add string, and BAM! insta-binocular!


Until next time - I'll see you on the wild side!


COUNTRY TEACHER - CITY TEACHER

OH MY-LANTA! I have been off of here so long because my life is an absolute whirlwind between the end of last year and this new school year!

My husband and I got the great news that we were moving to Miami, FL back in June 2012 and from then on my life was dedicated to working, packing, finances, finding a new job, then of course, the move.

 My family flew into Indiana from Washington to help us move to Florida and I we had so much fun on our big family roadtrip! 

I was blessed to have a job lined up for me by the time we moved and I jumped right in after we arrived in Miami. I am now the new kindergarten teacher at a private school on the westside of Miami. We are four months into school and it has been an incredible learning experience. The class sizes are very small because it is 1) a private school and 2) it is a fairly new school. 

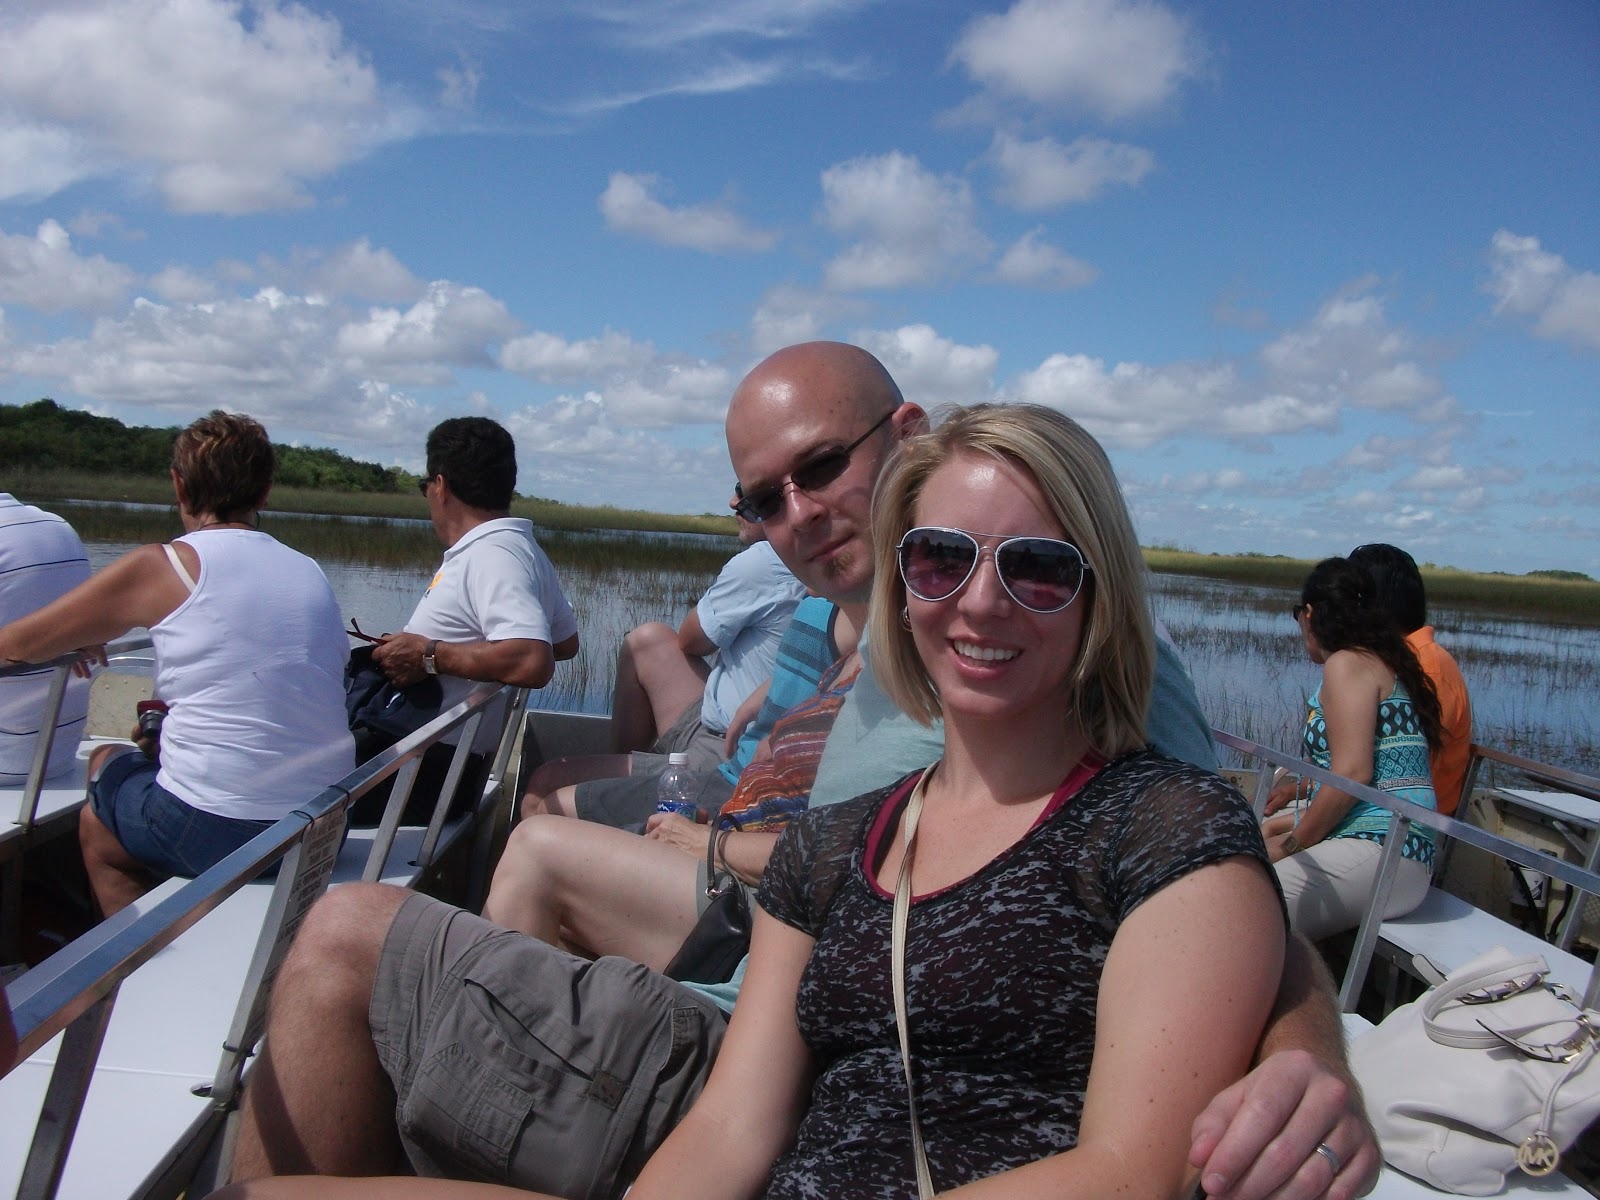
airboat ride in the Everglades

We have accomplished so much in such a short time in kindergarten and I want to share more of what I have learned and get this blog up-to-date! Stay-tuned colleagues!

Saturday, April 14, 2012

Astronauts!

Space is such an incredible subject to get students interested in and learn about! We did our space unit about a month ago, but I still have yet to put away space props in dramatic play and space books in reading area because the kiddos are so interested in the subject!

used with permission of parent


We did everything from launch a rocket, become an astronaut, zoom past asteroids, stars, and planets, and even try astronaut ice cream, to creating amazing aliens. Simply incredible to see how much the kiddos are interested in space - it's a wonderful place.

The 3 main things I wanted the kiddos to learn during the week were:
1. stars make pictures called constellations
2. no oxygen in outer space so that is why astronauts wear helmets
3. the names of the planets


We talked about constellations, the kiddos really liked the idea of pictures in the sky, and shooting stars. Using styrofoam balls, foil and a few crepe paper ribbons, we created shooting stars that the kiddos ran around the room with after they finished.

However, our main event of the entire week was to become astronauts.

  • I gathered up large paper bags from a local Kroger and folded up the opening until it was 1/3 of the way rolled up.
  • Then I cut a large face opening in the middle to create the visor area of an astronaut helmet.

The kiddos then used their fine motor skills to make sure the astronauts helmets were up to code on star stickers and colored markings. ;D


Let's face it, it's pretty hard even as adults to remember the names of all the planets. My first thought was, "How am I ever going to get preschoolers to remember?" Then divine intervention hit me - through song.

Here is the song I have used for the past two years to get students to remember the planets in order, thanks to www.everythingpreschool.com 

Planet Song (sung to the tune of Ten Little Indians)

Mercury, Venus, Earth and Mars
Jupiter, Saturn, Uranus, Neptune
and the very smallest of all
is Pluto.


YES, I do know Pluto is not considered a planet anymore and YES, I was a great teacher and conveyed the news to my class that it is now considered a dwarf planet. No worries!

Dr. Seuss! Who let you loose!?

Oh boy, I have been gone awhile. I do apologize, life gets crazy, fun, and sometimes not so fun, but I am back and ready to blog again!


Theo LeSieg, Theodor Seuss Geisle, or as the world knows him best, Dr. Seuss. Many of us learned to read (or begin memorizing stories) by reading Dr. Seuss books, so what better way to honor a man, who is a major part of our reading lives, than by dedicating a day to him and reading every year on his birthday, March 2.

Read Across America (http://www.nea.org/grants/886.htm) has become such a phenomenon that every year in my class we decide to dedicate the whole week to reading and to good ole' Dr. Seuss. This year, we took a different Seuss book every day and expanded off of it.

These are our own "Wockets" to take home in our pockets!


All materials for this project were purchased at the Dollar Store!

Tuesday we took a trip to the Zoo and created some wild and crazy animals to inhabit it! Take a look...


  • I printed out 3 copies each of 6 animals; a lion, an elephant, a turtle, a kangaroo, a horse and a cow.
  • Then I chopped each one in half with a back end pile and a front end pile.
  • Each child got to pick one front end picture (glue it down) and one back end picture (that doesn't match the front end) and line them up to create a crazy new animal for our zoo.
  • After the new animal was created, each child got to name their name their new animal - personally this was my favorite part - too cute!

Wednesday, we can't skip the classic, "Cat in the Hat" hats! We discussed patterns and what color comes next. Of course we embellished with Dr.Seuss stickers from Michaels.


Thursday was Dr. Seuss's ABC's and each student had the beginning letter of their name printed out, then they had to follow the lines made by the printer with string and glue the string down to their letter. Unfortunately I did not get a picture of this, but it's great practice for beginning letter shapes!

Friday was the celebration day and we made our own version of green eggs and ham, aka sugar cookies with frosting and green m&m's...mmmmmmmmmmmmmm!

Psssstt: have a classroom wish list weekly with 2-3 items on it so parents might be able to help donate supplies to the classroom! (that is how we got our sugar cookies, frosting, and M&M's)

Dr. Seuss week may possibly be my favorite week of the school year! Each day we also did different themes in our classroom,

Monday: be your amazing self!
Tuesday: Red and White Day!
Wednesday: Crazy Hair Day!
Thursday: Silly Sock Day!
Friday: Pajama Day!